

Struggling to remember when to follow up with clients? You know the drill—emails pile up, deadlines slip, and connections fade. What if you could set up a simple system to
Struggling to remember when to follow up with clients? You know the drill—emails pile up, deadlines slip, and connections fade. What if you could set up a simple system to handle those reminders and sends for you?
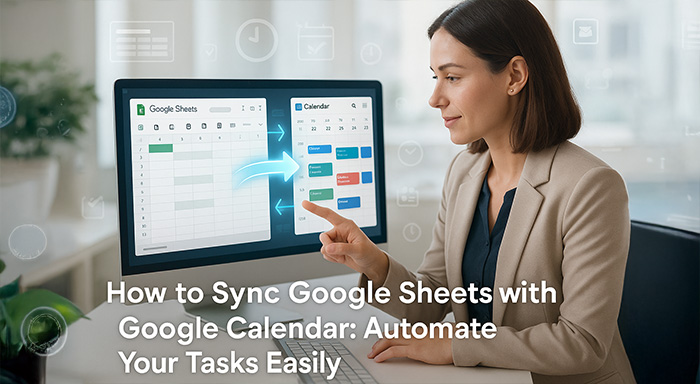
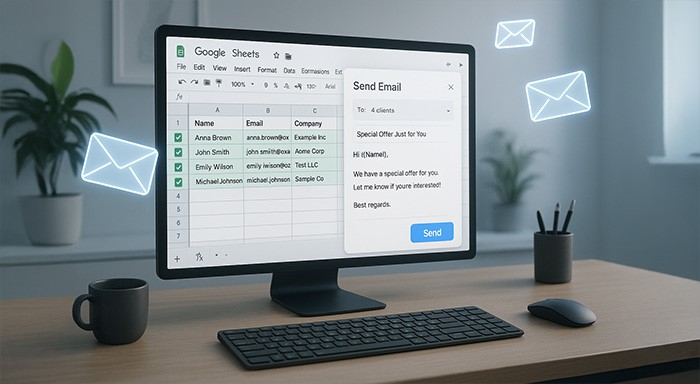
This guide shows you how to use Google Apps Script to automate email follow-ups. It works right in your Google Sheets, pulling from a list of client names, emails, and last contact dates. No more guessing games; just click, select, and send.
You'll save hours each week. Studies show consistent follow-ups can boost response rates by up to 30%. Ready to make your client outreach easier? Let's dive into the setup.
Getting Started with Your Automate Email Follow-Ups
Start with the basics. This script turns your Google Sheet into a smart tool for client emails. It's quick to set up and needs no coding skills beyond copy-paste.
Step 1: Acquiring and Installing the Script Code
Find the script code in the video description or linked resource. Copy each part carefully. Head to script.google.com to open the editor.
Paste the code into a new project. Do this one section at a time to avoid mix-ups. Double-check for errors before moving on. This builds the base for all your automations.
Save your work often. Name the project something clear, like "Client Email Automator." Now you're set to activate it.
Step 2: Understanding the Script Editor and Project Setup
The editor looks like a simple notepad with menus. On the left, you'll see your files. The main area holds the code you pasted.
Click save after pasting. This locks in your changes. Think of it as hitting "publish" on a draft—nothing runs yet, but it's ready.
If something looks off, refresh the page. The interface stays basic, so even new users feel at home.
Step 3: Activating the Script and Linking to Your Google Sheet
Click the run button at the top. It might ask for permissions—say yes to connect to your sheets. This links the script to the open Google Sheet with your client data.
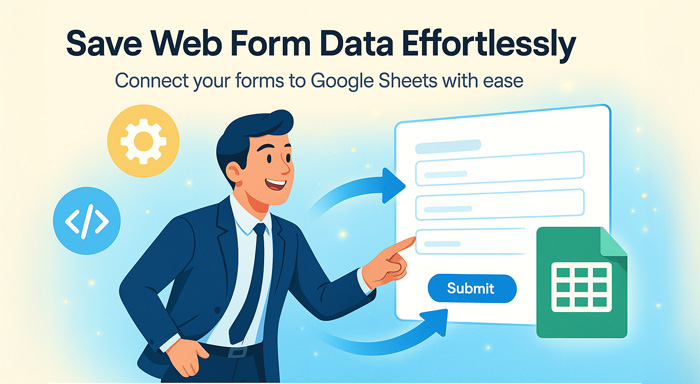
Your sheet now holds the power. List clients in columns: names in A, emails in B, last contact dates in C. The script reads from here.
This setup also makes it easier to find email details later, since every client address stays tied to the right name and follow-up date in one place.
Test it by running again. No errors? Great. You've just wired up your automation hub.
Leveraging the "My Tools" Menu for Efficient Data Management
Once running, a new menu pops up at the top: "My Tools." It's your control center. Use it to update dates or send emails without leaving the sheet.
This menu keeps things organized. No hunting through tabs or apps. Everything stays in one place for fast access.
Exploring the "Open Date Updater" Functionality
Click "Open Date Updater" from the menu. A clean window opens. It shows your client list with checkboxes.
Pick rows by checking boxes. Only those get updated with today's date as the last contact. It's like marking tasks done, but for emails.
Hit update, and dates refresh instantly. Close the window—your sheet now reflects the changes. Simple tweaks like this keep your data fresh.
Actionable Tip: Maintaining Accurate Client Contact Dates
Keep that last contact column spot on. Outdated info leads to wrong follow-up timing. Update after every email or call.
Why bother? Accurate dates help you space out messages—maybe every 30 days. This avoids spamming and builds trust.
Review your list weekly. Spot gaps? Use the updater to fill them. Over time, you'll see better client replies.
Mastering the "Send Email" Feature for Targeted Outreach
Now for the fun part: sending emails. The "Send Email" option in My Tools lets you craft messages on the fly. Target everyone or just a few.
This feature shines for personalization. No generic blasts—tailor to needs. It's flexible for sales teams or freelancers.
Crafting Compelling Email Content: Subject, Body, and Attachments
Open "Send Email." Fill the subject line first—keep it short, like "Quick Update on Your Project." Next, type the body.
Write clear and friendly. "Hi [Name], just checking in since our last chat." Add attachments if needed, like a PDF report. Click browse to pick files from your drive.
Test your draft. Read it aloud—does it flow? Good subjects get 20% more opens, so make them count.
Real-World Example: Sending a Follow-Up to a Specific Client Segment
Say you have 50 clients, but only 10 need a product update. Select those rows in your sheet. Open Send Email.
Subject: "New Features for Your Account." Body: "We've added tools you'll love—see attached demo." Attach the file and send.
Those 10 get it right away. Others stay untouched. It's like a spotlight on the right group, boosting relevance.
Sending Emails to All Clients vs. Selected Clients
No selections? The email goes to every client in the sheet. Perfect for newsletters or holiday notes.
With rows picked, it targets just them. This saves bandwidth and feels personal. Switch modes based on your goal—broad reach or focused nudge.
Flexibility like this cuts down on extra tools. One sheet handles it all.
The Final Send: Confirming Successful Email Delivery
Hit send, and watch the magic. The script processes your message fast. You'll get quick feedback on the sheet.
This step wraps up the action. No waiting around—results show right there.
Understanding the "Send Successfully" Confirmation
After clicking send, a green message pops: "Send Successfully." This means the script queued your emails through Gmail.
Don't worry if it takes a minute. It's working behind the scenes. If errors show, check emails or permissions and retry.
This confirmation builds confidence. You know it's done without checking another app.
Verifying Email Appearance in the Client's Inbox
Open your sent folder or ask a client. The email looks just like you wrote it—subject, body, attachments intact.
No weird formatting. It arrives from your Gmail address. Recipients see a pro message, not some automated junk.
Test with your own email first. Matches? You're golden for real sends.
Streamlining Your Workflow for Enhanced Productivity
With this script in place, your days change. Emails flow without the hassle. Focus on meetings or creative work instead.
Automation frees your mind. No more sticky notes or calendars crammed with reminders.
The Power of Automation: Saving Time and Boosting Engagement
Picture this: What took two hours now takes two minutes. That's real time back in your pocket.
Consistent touches keep clients coming back. Data from email tools shows follow-ups lift sales by 25%. Your engagement rises naturally.
Plus, less stress means better work overall. It's a win for you and your business.
Actionable Tip: Schedule Regular Review of Your Follow-Up Strategy
Set a monthly check-in. Scan your sheet for old dates or bounced emails. Tweak messages to fit seasons, like summer promos.
Ask clients for feedback. "Did this help?" Adjust based on replies. This keeps your strategy sharp and effective.
Stay consistent. Small habits like this turn the script into a powerhouse tool.
Conclusion: Effortless Email Follow-Ups Are Now a Reality
You've got the full rundown on automating email follow-ups with Google Apps Script. From setup to sends, it's straightforward and powerful. Your client list in a sheet becomes a smart system for outreach.
Key wins? Time saved, better connections, and easy management. No more forgotten emails or manual drudgery.
Try it today—copy that code and run your first test. Watch your productivity soar. For more tips on tools like this, check out related guides on sheet automations. Start now and see the difference.
Related blog: 7 Best Gmail CRM Tools for Growing Businesses in 2026
Respond to this article with emojis