
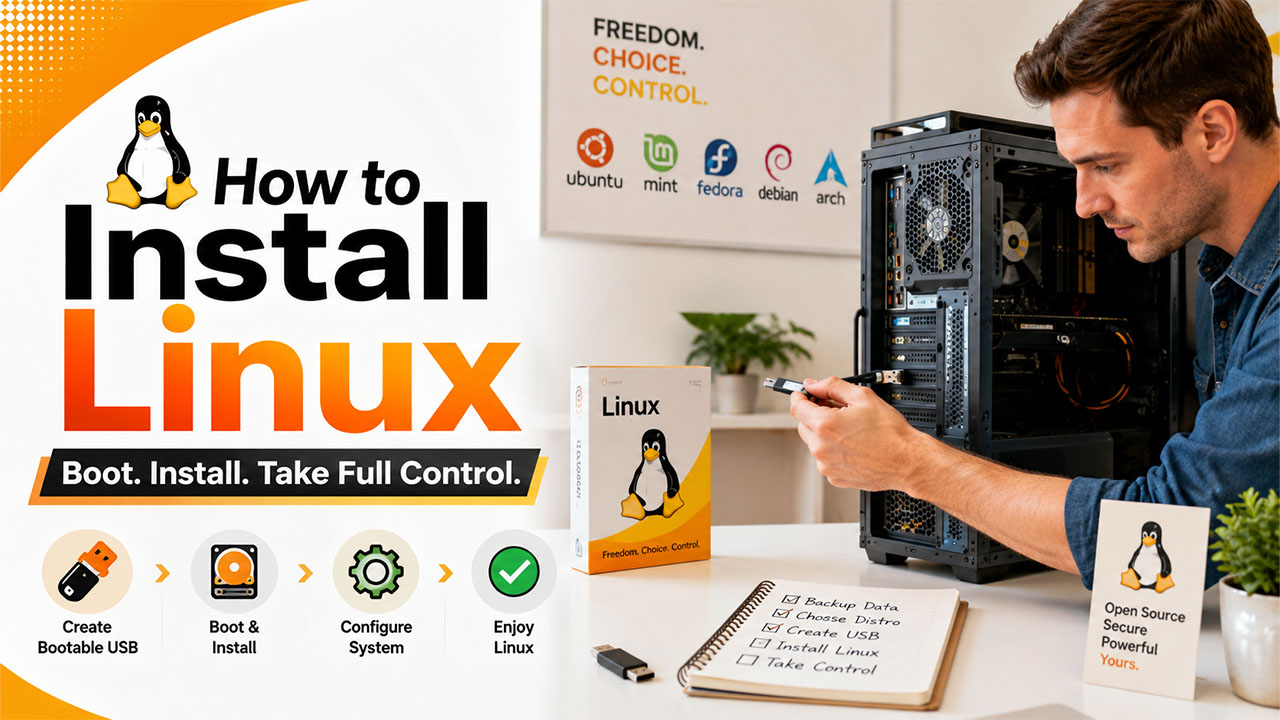
How to Install Linux on Any PC: Complete Beginner’s Guide
Learn how to install Linux step by step. Choose the right Linux distribution, create a bootable USB, install Linux safely, and fix common installation issues.
If you’ve ever wanted more control over your computer or you’re just tired of paying for an operating system that spies on you for ad data, Linux is worth a serious look. It’s free, open-source, and gives you full control over how your machine actually works, something Windows and macOS were never built to offer.
The installation process may seem daunting, but fortunately enough, it has become significantly easier nowadays with most of the modern distributions offering you a fully graphical setup wizard without the need for any command-line skills, except when you really need it.
In this one, we’ll walk through everything you need before you start, how to pick the right distribution, how to create bootable media, and the actual installation steps from start to finish, so you end up with a working system, not a half-finished project.
Why Install Linux
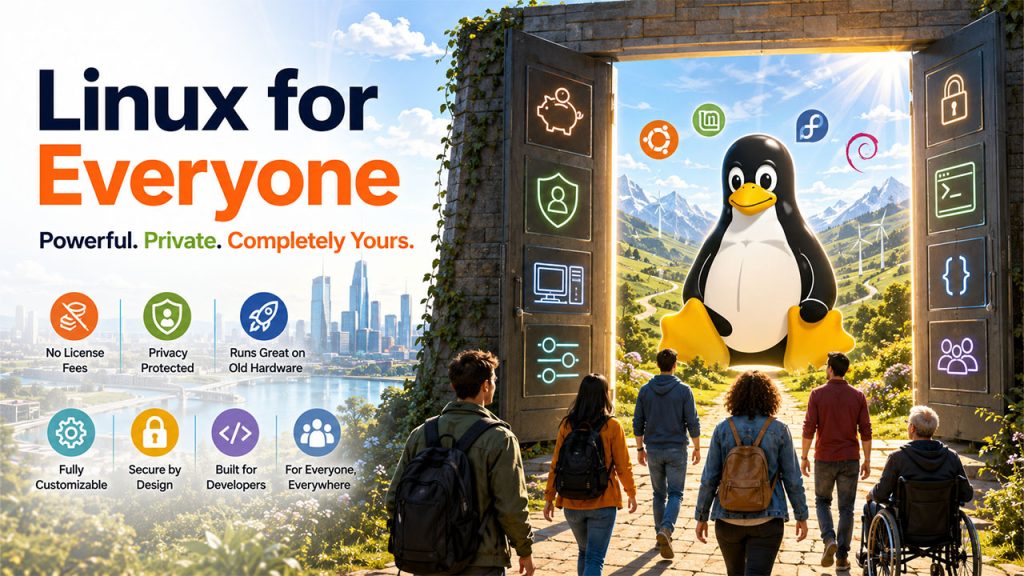
Before getting into the how, it’s worth understanding the why, since that shapes which distribution and setup make sense for you.
- It’s free: No licensing costs whatsoever; it never expires.
- Privacy: There is no telemetry collecting data on everything you do and selling it off to the highest bidder, like there is in most modern operating systems.
- Old hardware support: It runs great on old and underpowered computers where most other operating systems fail.
- Customization: Pick your desktop environment, customize system settings, strip the whole thing down to the minimum, or expand it until it breaks; it’s completely up to you.
- Security: There are very few viruses written specifically for Linux, and its permission architecture ensures that the ones that are don’t actually do anything.
- Perfect for development: Terminal access by default, package management, and support for most programming languages and IDEs.
None of this means Linux is strictly better for everyone; it just means it’s worth understanding what you’re gaining before you commit to installing it.
Before You Start: Prerequisites
A little prep now saves a lot of frustration later, so here’s what to sort out before touching the installer.
- Back up your data: Installing an OS involves partitioning your drive, and mistakes happen. Back up anything important before you start.
- Check your hardware specs: Most modern distributions run fine on 4GB of RAM and 20-25GB of storage, but confirm your specific distro’s requirements first.
- A USB drive (8GB or larger): This is what you’ll use to create your bootable installer.
- A second working computer: You’ll need this to download the ISO file and create the bootable USB.
- Know your boot method: Check whether your system uses UEFI or the older BIOS, since it affects a couple of steps later on.
- Stable internet connection: Needed for downloading the distro and, later, for pulling updates and drivers post-install.
Once these are sorted, you’re actually ready to pick a distribution and get moving.
Choosing a Linux Distribution
Linux is not just one OS; it’s a kernel that separate groups develop into their own “distributions” with their own user interfaces and communities.
- Ubuntu: Best choice for beginners, with the largest community and the best tutorials if you run into any trouble.
- Linux Mint: More Windows-like user interface, easy for those who switch.
- Fedora: Balanced choice for people who like new versions of software but don’t want to go through a complicated process.
- Debian: Super stable, extensively tested OS, though it’s slow on updates, usually used as a server OS.
- Arch Linux: Very flexible but definitely made for power users.
When you are trying Linux for the first time, the best bet is either Ubuntu or Linux Mint. You will be able to switch afterwards.
Related blog: 5 Best Linux Distros to Recover Windows Disks in 2026
Bootable Media Creation
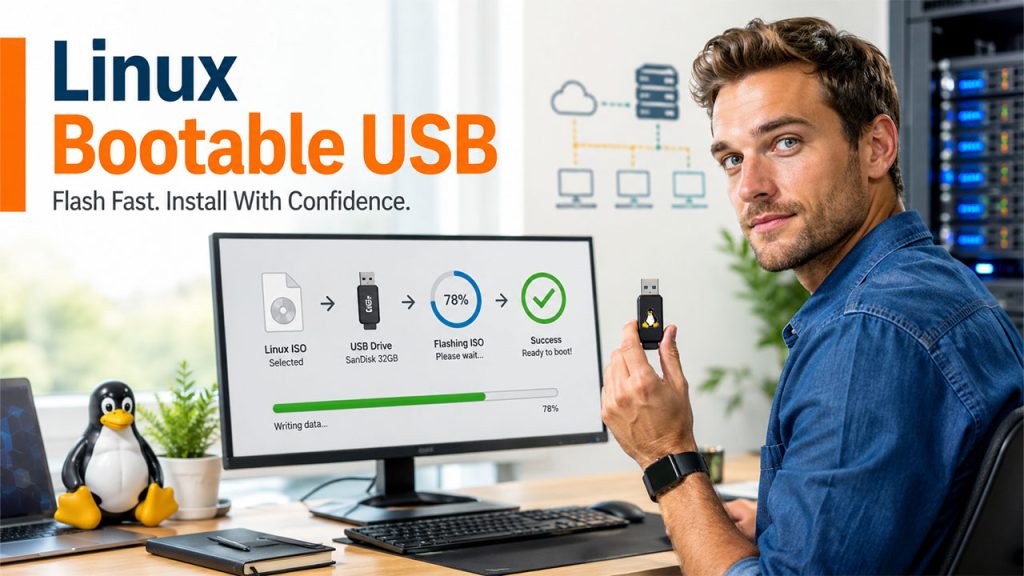
After selecting the distribution, the next step would be getting it onto the USB stick from which the computer can boot.
Download the ISO file: Visit the official website of the selected distribution and download the ISO file. The file has to always be downloaded from the official site to ensure that it has not been tampered with.
Download the flashy utility: The best choices for this step are Rufus on Windows and Balena Etcher on Mac/Linux machines.
Flash the USB stick: Load the selected ISO file into the software and select the USB stick. Flashing will delete everything that exists on the USB stick, so it is crucial to select the correct one.
Verification of the completion of the flash process: Verification is automatic, but it is necessary to make sure that the stick is bootable.
If you’d rather skip physical media altogether, there are other approaches too, like setting up a network boot server, which lets you boot multiple machines over a network instead of relying on physical USB drives each time. It’s a more advanced route, but worth knowing about if you’re managing more than one machine.
Once your bootable USB is ready, you’re set to move into the actual installation.
How to Install Linux: Step-by-Step
Related walkthrough
Install SuiteCRM 8 on Ubuntu: Step-by-Step Tutorial (WinSCP u0026 Terminal)

With your bootable USB drive ready, you’re all set to move into the actual install. Restart your computer with the USB inserted and access your boot menu, usually by pressing F12, F2, ESC, or Del during startup, depending on your manufacturer.
Step 1: Boot into the live environment
Select your USB drive from the boot menu. This loads a temporary session where you can test the OS before committing to anything.
Step 2: Launch the installer
Look for an icon like “Install Ubuntu” or similar on the desktop and click it to begin.
Step 3: Select language and keyword layout
Straightforward steps: just pick what matches your setup.
Step 4: Choose installation type
Most distros offer a “Normal” installation (with essentials pre-installed) and a “Minimal” option for a leaner system.
Step 5: Partition your drive
This is the step that needs the most care. You’ll typically set up a root partition (20- 30 GB), a swap partition (roughly matching your RAM size), and a home partition for the rest of your storage.
Step 6: Set your location and create a user account
Pick your time zone, then set your username and password.
Step 7: Start the installation
Once confirmed, the installer copies files and configures your system. This usually takes 15- 30 minutes.
Step 8: Restart your machine
Remove the USB drive when prompted, and your computer will boot straight into your new Linux system.
If at any point you’re unsure which partition setup fits your situation, referencing a guide on setting up a bootable USB drive and partition scheme correctly beforehand can save you from having to redo the whole process.
Post-Installation Setup
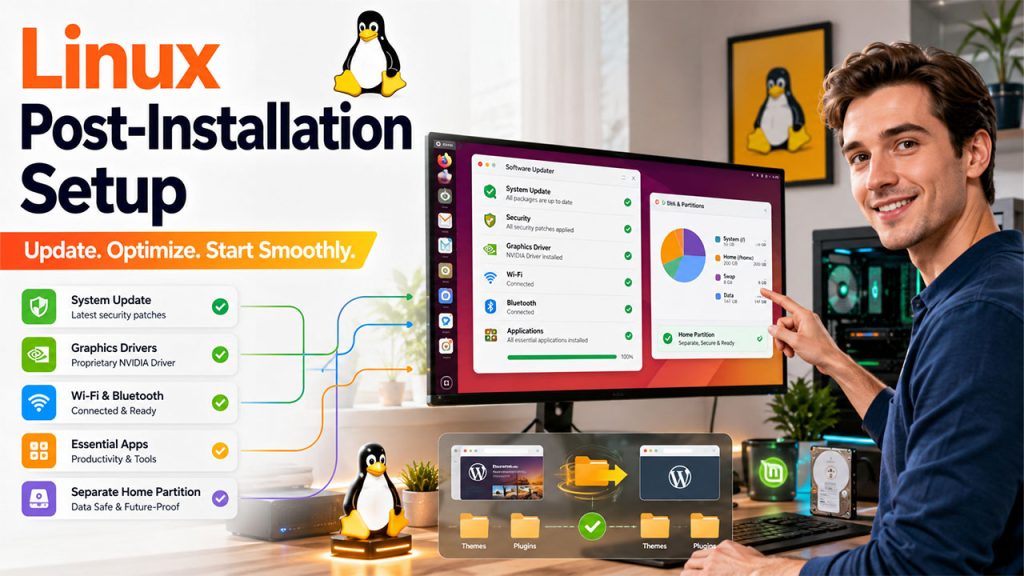
Your system is up and running, but a few quick tasks now will save you headaches down the line.
- Update your system: Run your package manager’s upgrade command right away to pull the latest security patches and fixes.
- Install graphics drivers: If you’re on an NVIDIA GPU, especially check your “Additional Drivers” settings and install the proprietary driver for better performance.
- Sort out Wi-Fi and Bluetooth: Most hardware works out of the box, but if not, you may need to install specific drivers, sometimes over a temporary Ethernet connection.
- Install your essential apps: Browsers, office suites, and media players can usually be installed directly through your distro’s software store or terminal.
- Set up a separate home partition if you haven’t already: This makes future reinstalls or upgrades much easier, since your personal files stay untouched.
A few minutes here mean a smoother experience from day one, rather than running into small annoyances later.
If you’re planning to run a website off your new install, it also helps to know how to migrate WordPress on Ubuntu the right way, so themes and plugins carry over cleanly.
Common Issues and Troubleshooting
Even if you perform a fresh installation, a couple of problems could appear. This is the list of things to check.
- The system will not boot after installation: Be sure that you have configured the correct boot order in the BIOS/UEFI settings and have Secure Boot disabled if required by your configuration.
- No WI-FI after install: Driver issue in most cases. Just connect to the Internet via an Ethernet cable and install the proper driver using your distro’s driver management system.
- Black screen after login: Most likely caused by a graphics driver problem. Booting into recovery mode and reinstalling the driver will fix the problem.
- Partitioning errors during the installation: Be sure that you selected the correct drive and did not leave any unallocated partitions without formatting.
- Poor performance: Check that you are running updates and use a lightweight Linux distribution for old computers.
In case of problems outside these common mistakes, Linux has a particularly active community. Forums such as Ask Ubuntu or those of your particular distro will really give you useful advice.
Conclusion
Installation of Linux might seem scary at first, but when you look at the steps needed, there really isn’t anything more to do than prepare, select, flash, install, and configure. The above installation process might be simple, but it is less daunting when you are actually doing it.
Be it bringing back to life the laptop that you have been using for quite some time now, taking charge of your system, or being tired of your current system, the effort is worth the trouble in no time. This will give you a system that is totally yours to do with what you please, free from mandatory updates, without any ads tracking you, and without any software that you do not want on your machine.
Even if something does go wrong during the process, it’s all good because every user who uses Linux has gone through that at one point in time during their first installation of it.
FAQs About how to install Linux
Q. Do I need to be technical to install Linux?
Not really. Most modern distributions like Ubuntu or Linux Mint use a graphical installer that walks you through each step, no command-line knowledge required unless you want to dig deeper later.
Q. Can I install Linux alongside Windows?
Yes, this is called dual booting. During the partitioning step, you’ll allocate separate space for Linux instead of overwriting your existing Windows installation, and you’ll get a menu to choose between the two at startup.
Q. How much storage does Linux need?
Most distributions run fine with 20- 25 GB of storage, though it’s worth allocating more if you plan on installing a lot of software down the line.
Q. What if my Wi-Fi doesn’t work after installing Linux?
This usually comes down to a missing driver. Connect via Ethernet temporarily, then install the correct driver through your distro’s driver management tool.
Q. Which Linux distribution is best for beginners?
Ubuntu and Linux Mint are generally considered the easiest starting points, thanks to large communities, extensive documentation, and interfaces that don’t require a steep learning curve.