

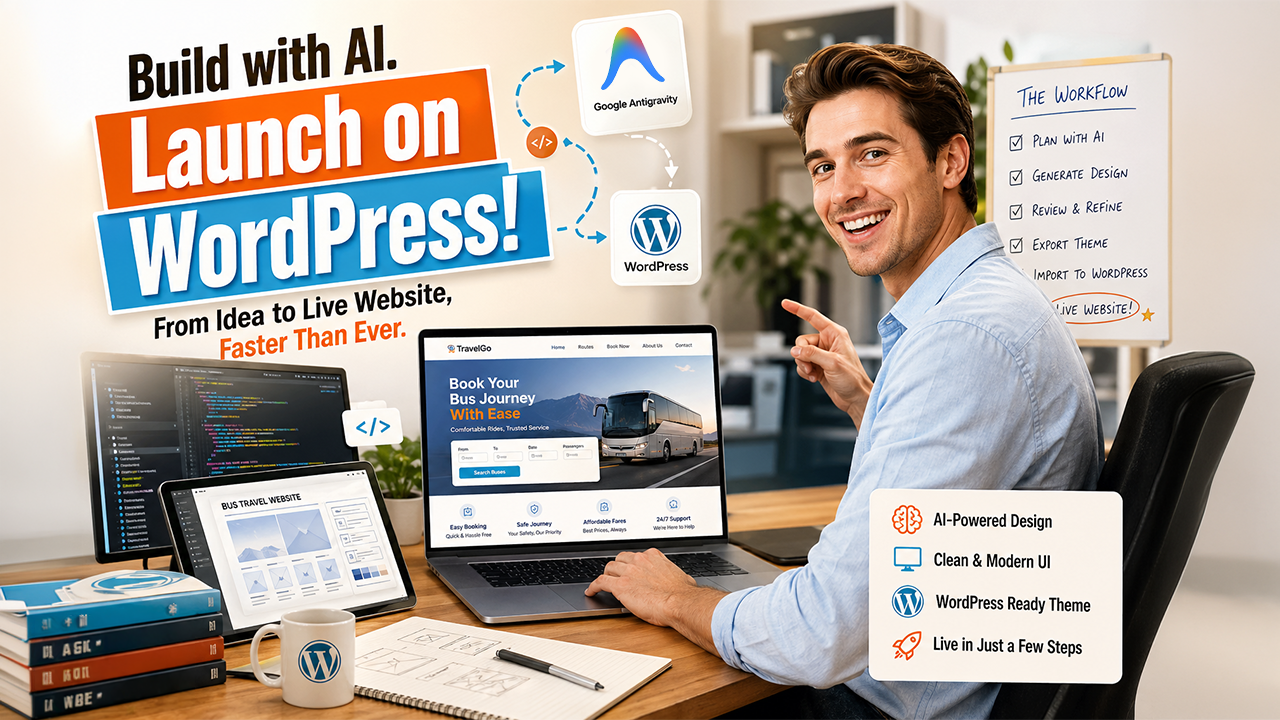
Website building has changed a lot over the years. What used to be a slow process filled with design revisions, code edits, browser checks, and repeated fixes can now be
Website building has changed a lot over the years. What used to be a slow process filled with design revisions, code edits, browser checks, and repeated fixes can now be handled in a much cleaner way. Tools like Google Antigravity are making that workflow far more efficient.
Google Antigravity is an agent-first development platform built to help autonomous agents plan, code, browse, and validate work inside a structured workflow. Google’s own Codelabs also show how it can be used in a design-to-code process for real web projects. That matters because it reduces friction in the early stages of development and gives you a more organized path from concept to execution.
This guide walks through the full process, starting with an AI-generated website design and ending with a live WordPress site. The focus is not only speed. The real value is in building something that stays practical, repeatable, and easy to manage.
What Google Antigravity Actually Does
Google Antigravity is not just another autocomplete tool. It is built to support real development work inside an agent-driven environment. That means the agent can think through the task, build the interface, look things up when needed, and check the result as part of the process.
That changes the way a project starts. Instead of opening a blank screen and assembling everything one section at a time, you begin with a proper prompt, let the agent plan the structure, and then move into implementation. In most cases, that leads to better organization and fewer messy corrections later.
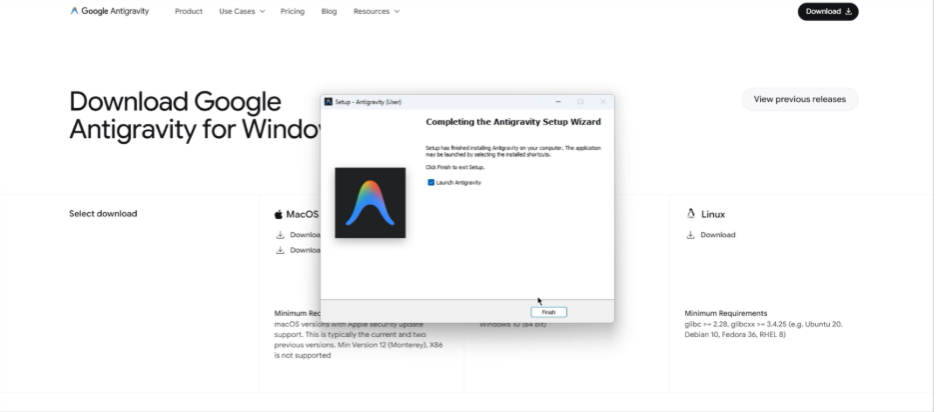
Step 1: Install and Set Up the Tool
Start by downloading the version of Antigravity that matches your system. Google’s documentation shows that it is installed locally and supports Mac, Windows, and certain Linux distributions in the preview experience.
Once installation is complete, open the app and sign in with your Google account. The setup is straightforward. After that, you can connect it to VS Code or open it as a fresh workspace, depending on how you prefer to work.
Step 2: Open the Agent Manager
After logging in, open the Agent Manager. This is where the workflow starts to feel more structured. The platform is designed so you can move between planning and editing without losing direction.
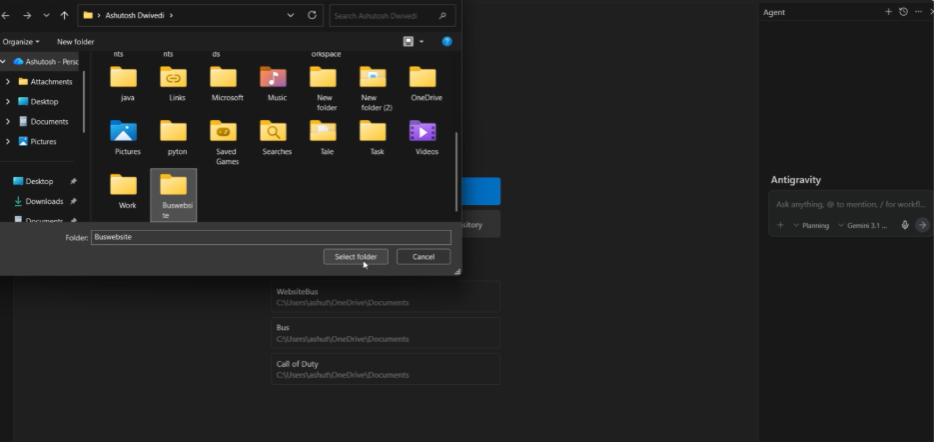
If this is your first time using it, create a local folder, trust that folder, and continue. That gives the agent a proper workspace and keeps the project clean from the beginning.
Step 3: Choose the Right Mode Before You Build
Before generating anything, take a moment to set the model and mode properly. That small step makes a big difference.
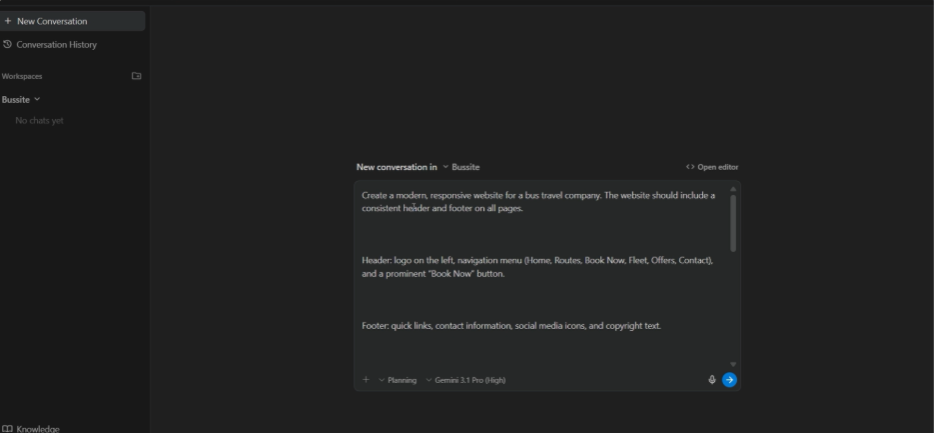
For a structured website build, the planning mode is the better choice. It gives the agent time to think through the architecture before producing the final code.
Use this setup:
- Model: Gemini Pro 3 high
- Mode: Planning
Then paste a detailed prompt describing the exact website you want. The better the prompt, the better the output. In this case, the site is for a bus travel company, so the prompt should clearly mention the header, booking flow, useful pages, and the visual style you want the site to follow.
Step 4: Let the Agent Build the Structure
Once the prompt is submitted, let the agent work through the plan. This is the point where the project starts becoming real.
If the tool asks for confirmation to continue or implement the plan, approve it. If there is an always-run option, accept that as well. The idea is to keep the workflow moving so the agent can do its job without unnecessary stops.
At this stage, the site should start moving from a concept into actual pages, sections, and components.
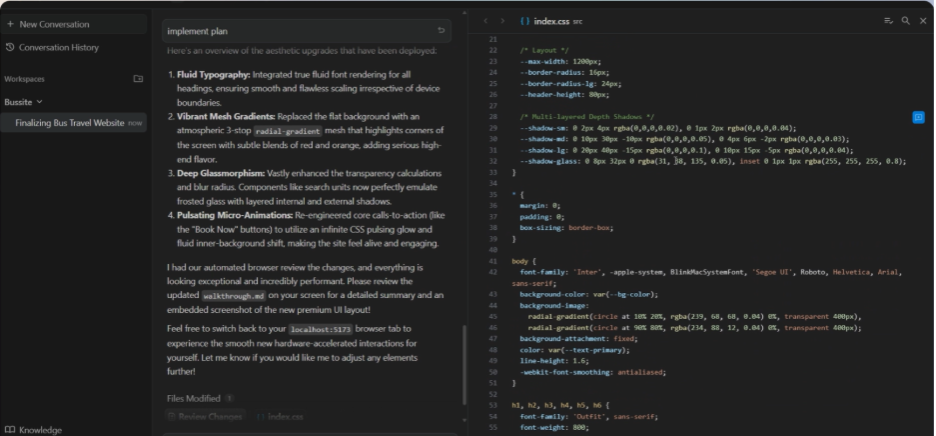
Step 5: Review the Design Like a Developer Would
The first version is never the final version. This is where a lot of people lose quality by stopping too early.
First, ask the agent to review the user interface. Check spacing, typography, section balance, and visual hierarchy. Then ask it to review the content structure so the copy and layout work together instead of feeling disconnected.
This step separates a rough build from a proper one. A strong layout becomes much better when the visual design and the content are refined together. That is exactly the kind of improvement Google’s own design-to-code workflow encourages after the first build is complete.
Step 6: Move the Design into WordPress
This is where the project becomes practical for real use.
Once the design is ready, move it into a temporary WordPress setup and convert it into a WordPress-ready theme file. If you’re wondering what WordPress is, it is a popular content management system (CMS) used to build and manage websites without needing deep coding knowledge. The upload process itself is standard. WordPress support explains that themes can be uploaded from the dashboard by going to Appearance, then Themes, then using the upload option to add a ZIP file and activate it.
The basic flow is simple:
- Go to the WordPress dashboard.
Open Appearance, then Themes.
Click Add New or Install New Theme.
Choose Upload Theme.
Upload the ZIP file.
Install it and activate it.
At that point, the design stops being just a prototype and becomes a functioning WordPress website.
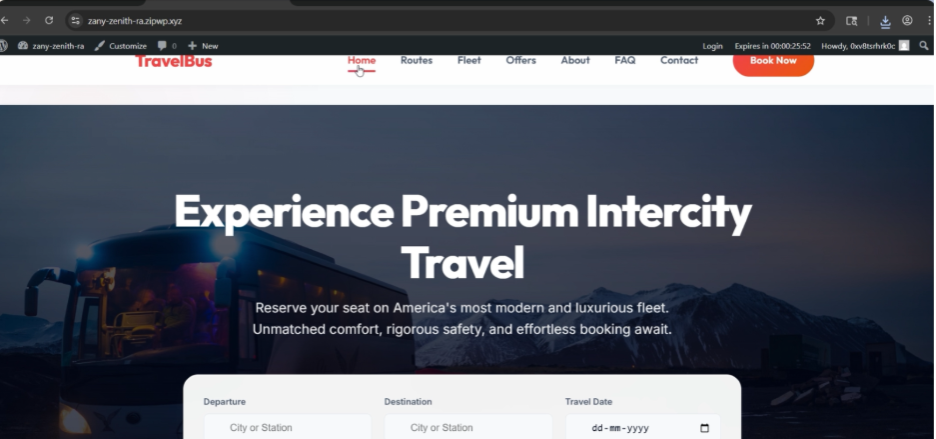
Step 7: Test the Live Site Carefully
Once the theme is active, do not rush past the final check. This is where the small issues that often get missed during the build become visible.
Go through the header, footer, booking flow, buttons, and spacing on each page. A site can look excellent in the builder and still need small adjustments once it is live. That final review is part of the job, not an extra step.
When the layout feels clean and the pages stay consistent, the site is ready.
Why This Workflow Works
The strength of this process is the order.
The design comes first. Then the agent builds it. After that, the layout and content are refined. Finally, the finished result is transferred into WordPress as a usable website.
That sequence matters because it reduces chaos. It also saves time. In a real project, a strong prompt, a clear review process, and a proper WordPress handoff usually do more for quality than scattered edits ever will.
Conclusion
If the goal is faster website creation without losing structure, this is a workflow worth learning. Google Antigravity is built for agent-first development, and Google’s own Codelabs show how it can support planning, implementation, and design to code work in a real project.
When you combine that with WordPress’s standard theme upload process, the path from idea to live site becomes much cleaner.
The practical lesson is simple. Start with a strong prompt, let the agent plan properly, refine the design and content before launch, and then activate the finished theme in WordPress. That is how an AI-generated design becomes a professional website that is ready to work.
Read More:
WordPress Security: Protecting Your Site from Common Attacks
WordPress Plugin Alternatives: Advanced Coding Solutions for Enterprise-Grade Functionality
How to Fix the ERR_CONNECTION_TIMED_OUT Error
Respond to this article with emojis